Vitu Maradadi (pretty things)
  • Cards
  • Parchment Cards
  • In to Africa
  • We are family
  • About me
  • Polymer Clay Beads and Bling

CC&S #207, CC619, Bunch of Love

30/1/2017

5 Comments

 
Picture
This is a reasonably quick card and an even quicker post for another submission for the CAS Colour & Sketch Challenge #207 and also the SCS colour challenge for this week.
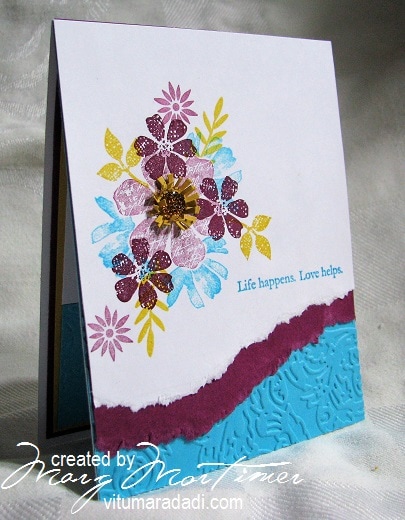
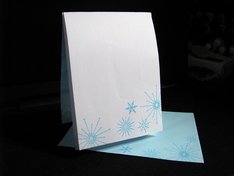
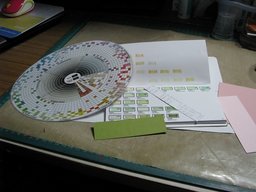
My inspiration for this card comes from the Stamp'in Up catalogue page 139.
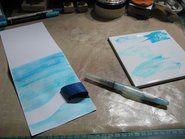
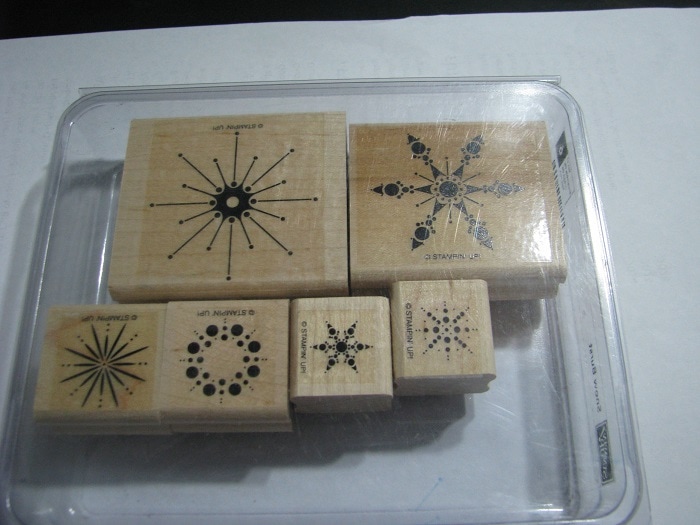
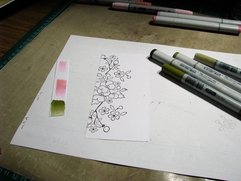
I didn't have the stamp set used so used single stamps from six stamp sets to achieve the same effect  
Apart from that the card was straightforward.
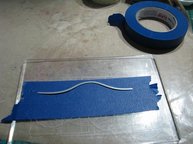
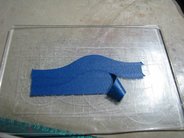
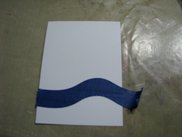
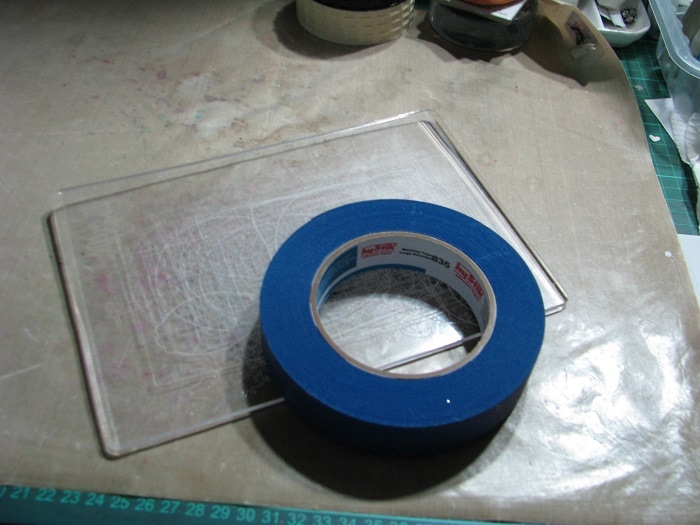
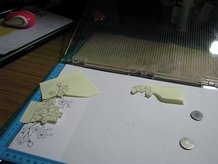
To achieve the torn edges I moistened the card stock first so that it was easier to tear.
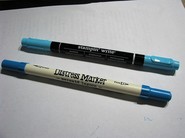
The supplies and equipment used is listed in my SCS gallery found here;
http://www.splitcoaststampers.com/gallery/photo/2778707?&cat=500&ppuser=198941 
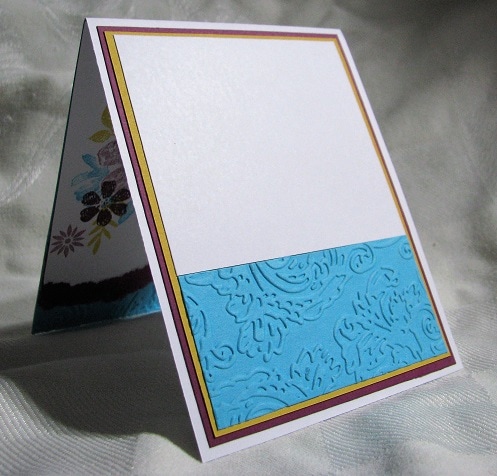
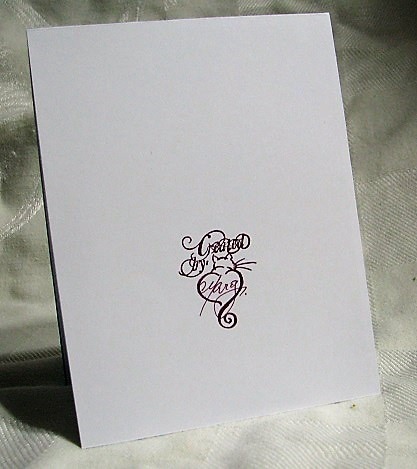
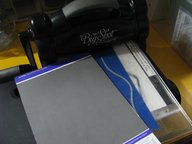
To finish the card I added some embossed card and matted tis with some white card for writing on and finally I signed the back of my card.
I hope the card has inspired you to create something, thanks for dropping by.
Cheers
Marg 
5 Comments

CAS Colours & Sketches Challenge #207                                                   SCS - CAS413 - Sparkle & Shine                                                           Sparkling Snow

29/1/2017

5 Comments

 
Picture
This card is for the SCS CAS challenge by Carla who said " Who doesn't love some bling? Whether it's rhinestones, glitter or foil, that little bit of bling just makes our cards shine! For this week's CAS Challenge, create a card using anything sparkly, shiny or even both in your design. Can't wait to see what you come up with!"

I've used heat embossing (a little hard to see in the photo) glitter, rhinestones, sequins and Stickles glitter glue on the snow, plenty of sparkle and shine lol.

​I have also come across another challenge site that I thought I wouldn't mind participating in called "CAS Colours & Sketches". To that end I have used this weeks sketch from that challenge for the card.

Picture
I decided that I would do a simple watercolour wash for the background and because this was to be a one layer or more correctly no layer single card base I was going to need to mask the area that I wanted to keep clean of any paint.
In the past I have used ordinary masking tape with varied results but often as not I would end up with some of the edges bleeding into the clean area. A couple of weeks ago while visiting one of our more expensive art suppliers I spotted some artists masking tape and even though it was three times more expensive I bought a roll and I'm thrilled with it's efficiency. I think it will last me quite a while but even so I will be purchasing more.  

Picture
Picture
Picture
To make the mask I tore three strips of the masking tape off and overlapped them slightly directly onto the base cutting plate of my Big Shot, placed the die at the top to create the top edge of the mask. I then ran this through the Big Shot using a piece of shim (card to give it a bit more pressure, see middle photo) Once this was done I moved the die down to create the bottom edge of the mask.
Picture
Picture
It is quite a simple matter to move the mask from the cutting plate to the card once you have removed the excess tape and all I did was make sure that there was good contact around the edges of the mask once placed on the card.

Next I place the card into my stamp positioner and stamped the snow flakes with Versa Mark - Watermark and heat embossed with clear embossing powder.
Picture
Picture
I created the watercolour wash by using two water based  markers scribbling the colour onto a gloss tile then picking the colour up with an aqua brush. I went straight over the embossed snow flakes and right up to the edge of the masking tape and as you can see it worked perfectly. 

The card buckled slightly because I hadn't used watercolour paper however I weighted it down overnight before I continued and ever thing was fine.
Using my stamp positoner I stamped the greeting in SU Tempting Turquoise then over stamped with Versa Mark - Watermark and heat embossed with clear embossing powder - shiny.
Using an SU Fine-tip glue pen I put glue onto the snow flakes and then shook glitter onto them.  I placed clear rhinestones in the centre of the flakes and scattered some sequins around.
Last but not least I put some Snowtex onto the bottom of the card for snowy hills and once this was dry I pounced some Stickles - Star Dust glitter glue over the Snowtex.
Picture
To finish the card off I placed a piece of insert paper inside attaching it to the top inside of the card so that it would open out cleanly.
I stamped the bottom of the insert as well as the envelope just for some added interest and that is it.
Thank you for stopping by and I hope this has inspired you to create something.
Cheers
Marg
​

Supplies used are below and also included X-Press It Blending Card, Aqua watercolour brush and X-Press It double sided tape along with other items mentioned in the post.
5 Comments

SCS Colour Challenge, CC617, Smiles and Laughter

29/1/2017

0 Comments

 
Picture
This card is for Karen's colour challenge and even though it is a few weeks ago now I did promise to put some extra details up on my blog so here they are.
The card was inspired by Jennifer McGuire over on her blog found here;
 
http://www.jennifermcguireink.com/2017/01/edge.html
Of course my card is nothing like Jennifer's, it just morphed but still retains the design principals (see the above blog link) There are also more details in my SCS gallery if you are not coming to the blog from that link, the gallery link is here;
http://www.splitcoaststampers.com/gallery/photo/2775408?&cat=500&ppuser=198941
Picture


​To create my border I had to do a fair amount of masking shown in this image. I use "Post It Notes" as my masks usually and have a number of different sized note pads.
​I also used my stamp positioner, Christmas present from my DH, it is identical to the Misti stamp positioner and I love it, makes life so much easier. 

Picture
Once the border was built it was time to choose the colours. Because I was going to colour with Copic markers it was necessary to get as close as possible to the SU colours.
As mentioned in previous posts I do this using my swatch book and also the Copic colour wheel seen in this photo. 
I take a small piece of card of the SU colour I need to match then hold it against the swatch book and wheel.
Normally I use three colours to blend (although I have used as meany as five colours) The colour I match to the SU colour is the middle colour as this will be used the most then I go two shades darker and two shades lighter and they are what I blend with.

Picture
Before I commence colouring I always do a blending practice run on a piece of blending card to make sure I have the colours right.

The rest of the card is very simple, once I had coloured the image I fussy cut around the side that was to face into the card, mounted this onto some craft foam with PVA glue and while that was drying stamped the greeting onto the base card using the stamp positioner then over stamped again with Versa Mark - Watermark and heat embossed with clear embossing powder (one of my favourite things)
I then mounted the border panel onto the card with more PVA glue and finished the card by mounting a strip of SU Bella Rose DP against some white blending paper and mounting this onto some SU Old Olive card stock as the inside of the card.... and that's all folks. For more details of equipment used pop over to my SU gallery (link above) as there is a detailed list.
Thank you for dropping by and I hope this has helped in your creative endeavours.

Picture
0 Comments

Design Team for Split Coast Stampers

9/1/2017

0 Comments

 
Hi all, this is a little late but thought I would post anyway.
In October I was invited to join the design team for Split Coast Stampers, a huge complement and I am thrilled. 
It does come with some responsibility, six cards a month for six months separate from any of the normal challenges These cards can only be viewed in the monthly Fan Club gallery and I'm not able to post any of the cards I create for this challenge until I'm retired from the team and become an alumni.
Once that happens I will post some of my favourites for the six months.  
In the mean time if you are a Fan Club member of SCS pop over to the monthly gallery for a peep.
​
Picture
0 Comments

    Author

    Hi I'm Marg living in Brisbane Queensland Australia, see About me page for more information

    Archives

    February 2020
    August 2019
    March 2019
    September 2018
    August 2018
    June 2018
    May 2018
    April 2018
    January 2018
    May 2017
    March 2017
    February 2017
    January 2017
    September 2016
    August 2016
    July 2016
    March 2016
    February 2016
    June 2015
    May 2015
    February 2015
    June 2014
    March 2014
    February 2014
    October 2013
    September 2012
    August 2012
    July 2012
    April 2012
    February 2012
    January 2012
    June 2011
    May 2011
    April 2011
    February 2011
    January 2011
    December 2010
    November 2010
    October 2010
    September 2010
    August 2010
    July 2010
    May 2010

    Categories

    All
    Anniversary
    Birthday
    Christmas
    Copic
    Copic Oz Challenge
    Copic OZ Challenge.
    Copic OZ Challenge\\
    Digi Art
    Easter
    Embossing Folders
    Fathers Day
    Flowersoft
    General
    Get Well
    Halloween
    Heat Embossing
    Magnolia
    Male
    Marbling
    Mothers Day
    Penny Black
    Pirates
    Salt Resist
    Salt Technique
    Scs Challenge
    Special
    Spellbinders
    Stampin Up
    Thank You
    Tim Holtz Inspired
    Unity Stamps
    Valentine
    Vsn


    Picture

    Picture

    Picture

    Picture

    Picture

    Picture

    Picture

    Picture

    Picture

    Picture

    Picture

    Picture

    Picture

    RSS Feed

Powered by Create your own unique website with customizable templates.